Circulating fluidized bed boilers are currently emerging power station boilers, which are used to replace pulverized coal boilers and are widely used in small and medium-sized power stations. It has the advantages of energy saving, low pollution, low cost, and can burn many kinds of coal, especially low-quality coal. It is currently being vigorously advocated to replace pulverized coal boilers. However, because the water wall adopts a membrane water wall, it is difficult to align the rows of pipes on the ground. The space position is horizontally fixed and obstacles, and the welding process has a big change. Now the discussion on the surfacing welding of YG75/3.82-M1 boiler water wall is as follows.
1. Group welding operation method
1. Ground pair assembly
Due to the reasons of manufacturing and transportation of the membrane type water wall, the misalignment of the nozzle assembly is large, and the maximum can reach 25mm. It must be corrected to make the misalignment value less than 0.5mm. First of all, according to the size of the wrong opening, referring to the appearance size of the row of tubes, cut the fins at a certain distance, apply external force, and use oxyacetylene flame to calibrate. For the fins, after correcting all the misalignments, re-grind the groove size and the assembly clearance.
2. Tack welding
The order of positioning. Consider shrinkage and deformation during the positioning process. If the sequence is not correct, the assembled gap will become smaller or even squeeze. In the operation, first locate the three welded pipes at both ends and the middle, fix the overall size of the row of pipes, and then locate the other welds in a symmetrical and staggered manner. During the positioning process, pay attention to the changes of the welds that are not positioned, and first point the gap to be small. Therefore, the gaps of welds cannot be consistent during the pairing. The gap of the welds positioned first should be smaller than the welds positioned later, and the minimum gap is 2mm.
Method of tack welding. Position welding must be in accordance with the process requirements, and the welding wire used should be the same as the welding wire used for formal welding. Because the weldment requires single-sided welding and double-sided forming, the tack welding must be welded through. The tack weld should not be too thick, so as to avoid welding to the joint with the tack weld, the root fusion will cause broken or unfused, especially in the horizontal position, the tack weld should be ground lower, and the two ends should be sloped to facilitate When welding to this point, make the weld joint transition well to ensure penetration. Tack welds are part of the formal welds and no defects are allowed. If defects such as cracks, incomplete penetration, shrinkage holes, pores, etc. are found on the tack welds, the welds should be polished off and re-welded. Use remelting method to repair, and the edge of the groove can not be damaged during the welding process. When the weldment is fixed horizontally, its cross-section can be regarded as the clock surface, and the position of the positioning weld is 6 o'clock and 12 o'clock.
3. Bottom welding
1) Trigger arc
The bottom welding is divided into four sections, and the arc starting point is the horizontal center of the pipe. The welding direction is shown in the figure. The lower half circle is the downward welding, which is connected with the positioning weld at 6 o'clock. The arc ignition method adopts short-circuit ignition according to the actual equipment on site.
2) Wire feeding
The wire feeding method adopts different wire feeding methods according to different positions, the purpose is to ensure that the overhead welding position does not produce indentation, and the horizontal welding position does not produce welding bead. When arcing downward welding at 9 o'clock and 3 o'clock, wait until the grooves on both sides are fully melted, send a droplet at each of the two grooves, and then connect them together with an arc. Pay attention to the melting of the grooves at both ends , Intermittent wire feeding. Use welding wire to hold the molten pool so that the molten pool does not fall. In order to prevent recession at 6 o'clock, the welding wire is placed inside the groove for continuous wire feeding, but the welding wire should not be in contact with the tungsten electrode or directly penetrate into the arc column area, otherwise it will easily cause tungsten clamping and destroy the arc stability. The wire feeding position is located in the molten pool in front of the molten pool. The thumb and index finger twist and feed the wire, and the action must be clean and neat. During the entire welding process, the end of the welding wire must not leave the protected area to avoid oxidation and affect the quality.
3) Key points of welding
Control the arc length of 2-3mm. After the blunt edge is melted and a clear molten pool is formed, start to fill the wire. When welding, the welding torch moves at a constant speed. At the same time, do narrow sawtooth lateral movement. Pay attention to the shape of the molten hole during operation, and adjust the wire feeding speed in time. The bottom layer should not be too thick, generally 2.5-3mm. First, weld a half circle, and then check with a flashlight. After there is no defect, the half circle can be welded. Before welding, pay special attention to check whether the air pressure valve is open and whether the gas flow meets the process requirements. During the welding process, because the pipe is horizontally fixed, the welder's body changes as the welding position changes. In order to keep the welding torch stable, when performing overhead welding, you can extend your fingers to support the pipe at the same time.
4) Joint method
The welded joint is the place where the welds at both ends meet. Due to the temperature difference and the change in the amount of filler metal, defects such as incomplete penetration and poor internal formation are prone to appear at this place. X-ray inspection found that the bottoming of argon arc welding appeared at the joint The probability of defects is the greatest, and special attention should be paid to the handling of joints. If the welding process is interrupted, first grind the joint into a slope and start the arc again. 5-10mm behind the slope, when the arc moves to the slope, add welding wire to make the joint flat and wait until the head of the slope appears. After the hole is melted, it is switched to normal welding. When welding to the joint at the slope of the tack weld, the arc stays at the joint for a while. No welding wire is added first, so that the molten pool and the head of the tack weld are completely fused, and then the welding wire is added until it passes through the slope, but at 6 o'clock. At the joint, a drop of welding wire should be added to the last molten hole, and there should be an upward push. The upper and lower half circle joints cannot be repaired into a slope shape. When welding, pay special attention to the blunt edges on both sides and the melting of the weld.
Retracting arc: In order to avoid arc crater cracks and shrinkage holes, 2-3 drops of filler metal should be quickly fed before the arc is closed, and then draw a circle while drawing the molten pool to the groove to be drawn into a strip, and the arc is quickly broken. Destroy the edges. After the arc is extinguished, cover the nozzle over the molten pool, and then move it away after it is completely cooled and darkened to avoid oxidation.
4. Cover welding
Cover welding adopts manual arc welding, J422 electrode, ф2.5mm.
Clean the surface of the bottom welding layer and control the temperature between the layers. Generally, it is required to cover the surface immediately after the primer is finished. If it is too late, it is required to heat the bottom layer with an oxyacetylene flame to remove water and clean up possible rust, mud, etc. Debris.
When covering the lower half circle, start the arc from 5mm at 6 o'clock and continue arc welding to the horizontal center of the pipe. The two welds overlap by about 10mm. The upper half circle starts at the junction between the center of the tube and the lower half circle, and the welding is past 12 o'clock. The two sections overlap by 10mm to ensure that the weld is full at 12 o'clock. When covering the lower half circle, start the arc from 5mm at 6 o'clock and continue arc welding to the horizontal center of the pipe. The two welds overlap by about 10mm. The upper half circle starts at the junction between the center of the tube and the lower half circle, and the welding is past 12 o'clock. The two sections overlap by 10mm to ensure that the weld is full at 12 o'clock.
Operating points: The continuous arc welding method is adopted, and the electrode moves horizontally and moves forward uniformly and continuously. Fully stay on both sides to prevent undercutting of the weld and insufficient weld formation during downward welding. In flat welding, because the heat is too large, it is easy to produce inconsistent weld width. Arc-break welding can be used to reduce the heat input. To prevent shrinkage holes when the arc is closed, add metal by spot welding twice after the arc is broken.
5. Post-weld inspection
Do 100% appearance inspection after welding, the standard is based on DL5007-92 "Electrical Construction Regulations (Welding)". After passing the visual inspection, perform a 25% X-ray film inspection.
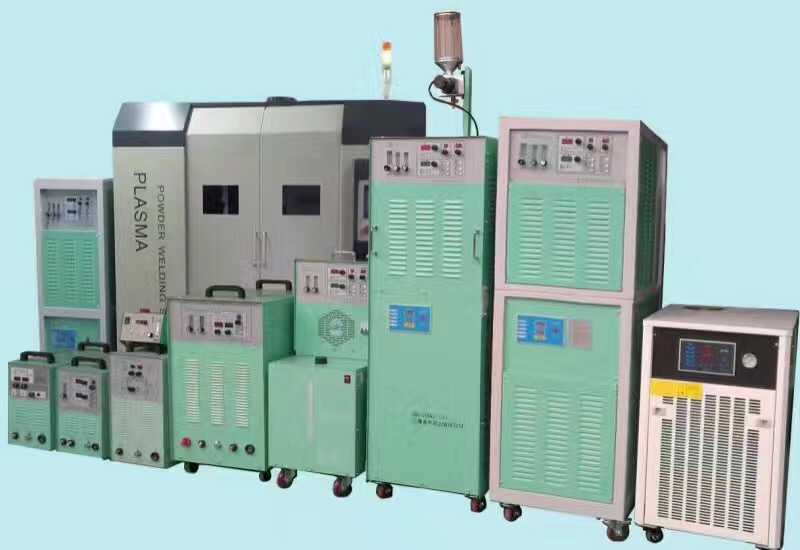
Shanghai Duomu Industrial Co., Ltd. is a high-tech industry specializing in power supply development. Welding power supply is my key project. The series of welders developed have reached or exceeded the international advanced level, and are well recognized by customers and have a wide customer base. And popularity. The products are professionally used for welding of precision parts and thin plates, surfacing welding of valves, rolls, picks, etc., welding repair of molds, mechanical shafts, etc., and have been widely used in electronic appliances, coal mining machinery, aerospace and many other fields.